Add reCAPTCHA to a website

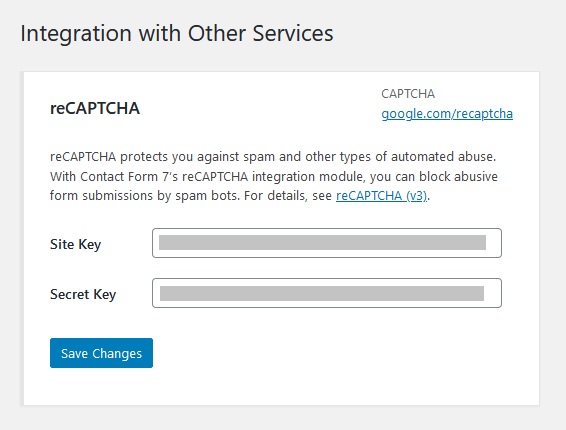
reCAPTCHA is a system that allows web hosts to distinguish between human and automated access to websites. The main purpose of a CAPTCHA system is to block spambots while allowing human users. Here we will see how to integrate it in WordPress.

Install the ‘Contact Form 7’ plugin.

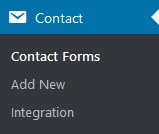
After installing the ‘Contact Form 7’ plugin, a new menu appears in the dashboard called ‘Contact’.

Under this menu, select ‘Integration’.

Click on the link from the reCAPTCHA section.

https://www.google.com/recaptcha/about/

The reCAPTCHA ‘about’ page opens, select ‘Admin console’.

Now we will configure the options for the reCAPTCHA.

  • Add a label
  • Select the type of reCAPTCHA to use (here reCAPTCHA v3)
  • Accept the terms of service
  • click ‘Submit.

First copy the site key. Click ‘COPY SITE KEY’.

Back to the WordPress admin dashboard, go to the integration section of the Contact Form 7 plugin.

Select ‘Setup Integration’ under ‘reCAPTCHA’.

Paste the Site key and do the same for the Secret key from the google admin console, after pasting both keys, click ‘Save Changes’.

reCAPTCHA is now active on your website.

a badge will appear in the bottom right corner of your website, confirming the activation of the reCAPTCHA.

It is possible to hide this badge using the custom CSS tool for WordPress. Just add the following code:

.grecaptcha-badge { 
visibility: hidden;
}

If you choose to hide the reCAPTCHA badge, you will need to add the following branding:

See the FAQ for more information.

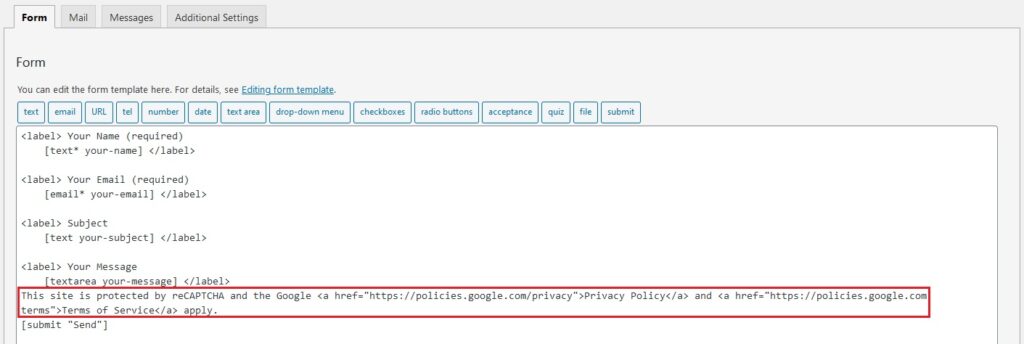
This site is protected by reCAPTCHA and the Google
    <a href="https://policies.google.com/privacy">Privacy Policy and
    <a href="https://policies.google.com/terms">Terms of Service apply.

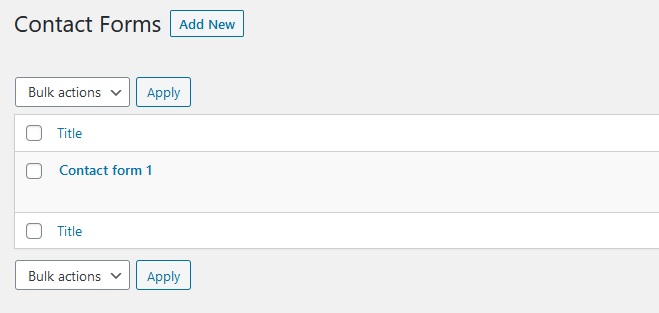
From the ‘Contact Form 7’ plugin options, click ‘Contact Forms’.

Click on your contact form.

Paste the branding in the form editor and click ‘Save’.

Here the reCAPTCHA branding will appear at the end of the contact form before the ‘Send’ button.

Leave a Comment

Your email address will not be published.