Installing Nextcloud on Debian
In this article we will see how to install Nextlcoud on Debian.
First make sure your distribution of debian is updated by running the following command :
# sudo apt-get update && apt-get upgrade
1. Install Apache :
# sudo apt install apache2 libapache2-mod-php
Verify the status of Apache :
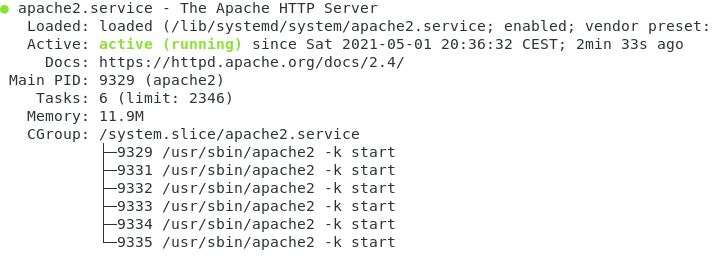
# systemctl status apache2
The status should show ‘running’ :
2. Install PHP :
# sudo apt-get install -y php php-gd php-curl php-zip php-dom php-xml php-simplexml php-mbstring
To verify the php version installed :
# php -V
3. Install MariaDB :
# sudo apt install mariadb-server
Log-in to database :
# mysql -u root -p
Create database :
CREATE DATABASE nextclouddb;
Create a user for the database :
# CREATE USER 'nextclouduser'@'localhost' IDENTIFIED BY 'new_password_here';
Grant the user full access to the database :
GRANT ALL ON nextclouddb.* TO 'nextclouduser'@'localhost' IDENTIFIED BY 'user_password_here' WITH GRANT OPTION;
Save changes and exit :
FLUSH PRIVILEGES;
EXIT;
4. Download Nextcloud
Navigate to the tmp directory :
#cd /tmp
Download the Nextcloud package :
# wget https://download.nextcloud.com/server/releases/nextcloud-21.0.1.zip
Unzip the compressed file :
# unzip nextcloud-21.0.1.zip
Move the unzipped folder to the webroot directory :
# mv nextcloud /var/www/html/nextcloud
Run the following commands to set the correct permissions :
# sudo chown -R www-data:www-data /var/www/html/nextcloud/
# sudo chmod -R 755 /var/www/hmtl/nextcloud/
Browse to the ip address :
http://ip_address/nextcloud/index.php