We will see how to assign a WordPress post to a category and accessing it from the top menu. For this tutorial I am using Elementor and the Essential Addons plug-in.
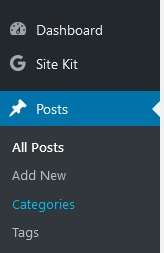
After creating a post go to ‘Categories’ from the ‘Posts’ menu.
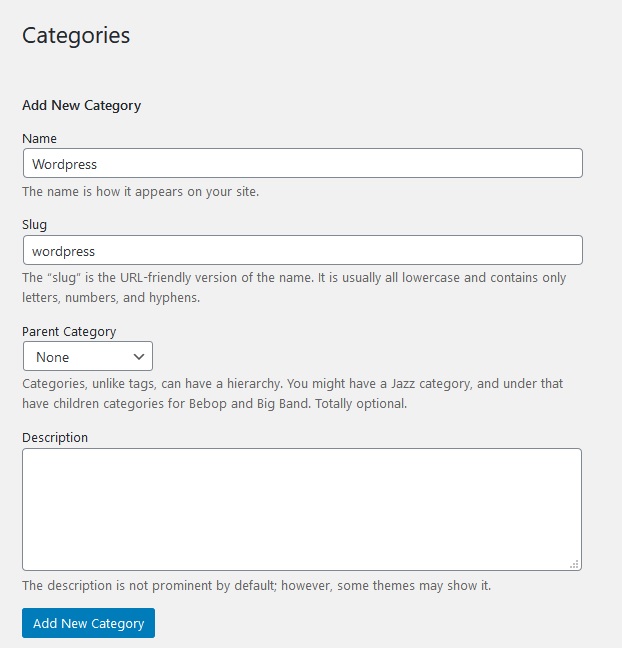
Create your new category and click on ‘Add New Category’.
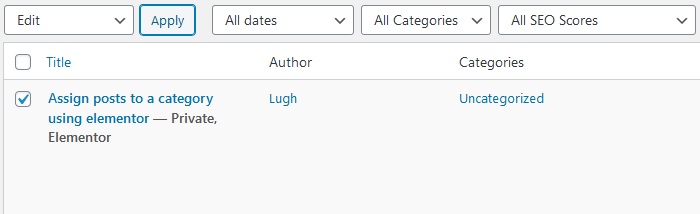
Now select ‘All Posts’ under the ‘Posts’ menu.
Check the box next to the post you want to add the category to, select Edit and click on ‘Apply’.
Select the category you want to apply, here ‘WordPress’ and click ‘Update’.
The new category is now assigned to the post.
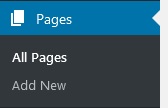
Next we will create a new page corresponding to the category we just created. Go to ‘Pages’ menu and ‘Add New’.
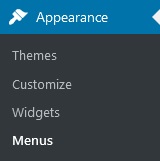
Create a new page and click ‘Publish’ on the top right corner and edit it with Elementor. Then go to Appearance and ‘Menus’.
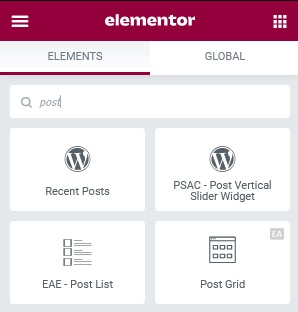
I am using the Post Grid element from the Essential Addons plugin.
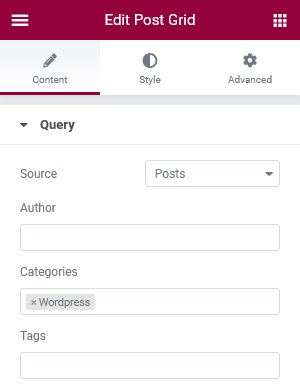
From the content section, select the source and the category to which this page will be assigned, here we will select ‘WordPress’. Don’t forget to click on ‘Update’ in Elementor for the changes to take effect.
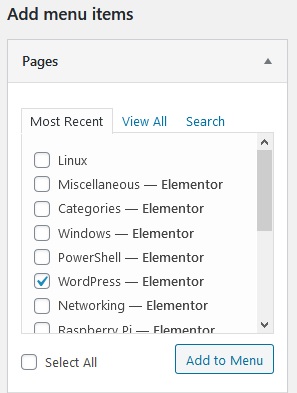
Finally we will add the page to our menu. From the WordPress Dashboard go to ‘Appearance / Menus’. Select the page, in our case ‘WordPress’, click ‘Add to Menu’ then click ‘Save Menu’.
The post now appears on the newly created page under the ‘WordPress’ category.