How to set a wordpress site under maintenance mode
In order to customize your wordpress site without your users facing broken links or other issues, it is possible to set a maintenance mode. To perform this, add the following code to your site.
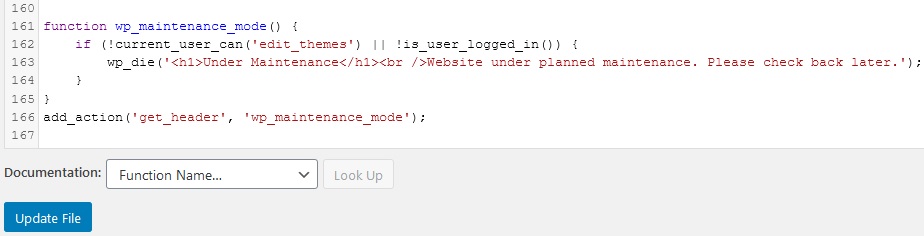
// Activate WordPress Maintenance Mode
function wp_maintenance_mode() {
if (!current_user_can('edit_themes') || !is_user_logged_in()) {
wp_die('

Under Maintenance

Website under planned maintenance. Please check back later.');
}
}
add_action('get_header', 'wp_maintenance_mode');
While the code sets your WordPress site under maintenance mode, as an admin user you will still be able to use and browse the site. This code needs to be added to the functions.php file of your wordpress site.
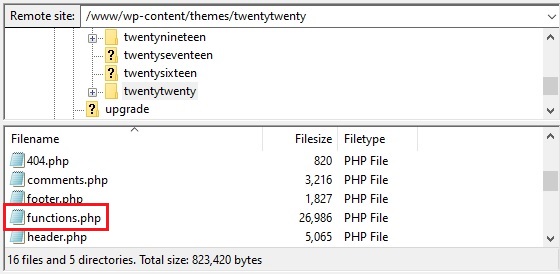
You can access the functions.php either from the WordPress editor or from an FTP client. Using an FTP client browse to the following location wp-content / themes / theme_name / functions.php.
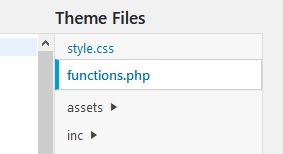
To edit the functions.php file from the WordPress editor, access the dashboard, go to ‘Appearance / Theme Editor’. If you are accessing the theme editor for the first time, click ‘I understand’ on the warning message then locate the functions.php file on the right hand side of the page.
Then copy / paste the code above to the end of the file and click on ‘Update file.
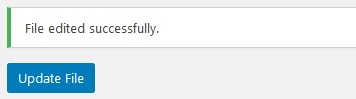
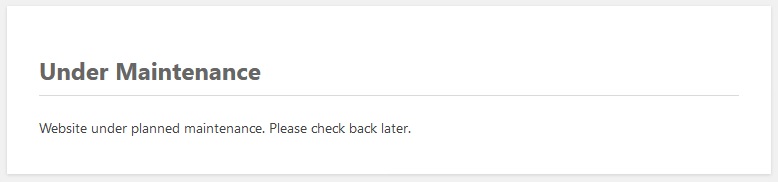
When the file is updated successfully, the following message will appear when users browse your website. You can edit the line ‘Under Maintenance’ and ‘Website under planned maintenance. Please check back later.’ from the code to whatever you want.
Don’t forget to remove the code from the function.php file when you have finished customizing your website in order to disable the maintenance mode.