Access a computer remotely with Remote Desktop Connection
31 January 2021
Access a computer remotely with Remote Desktop Connection
In this tutorial, we will see how to access a remote computer through RDC (Remote Desktop Connection) from a Windows computer both on the same local network.
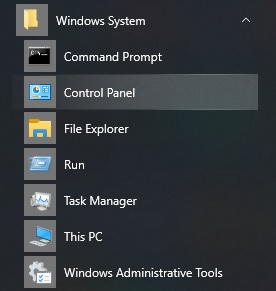
From the remote computer (Computer B) to which you want to connect, open the Control Panel. (Windows Menu / Windows System folder / Control Panel).
Or from the Windows Menu, search for ‘Control Panel’.
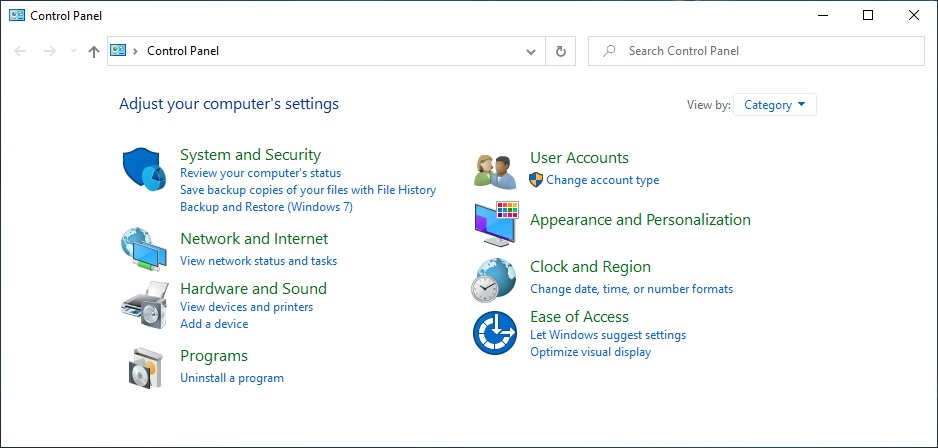
Switch to the ‘Category’ view and click ‘System and Security’.
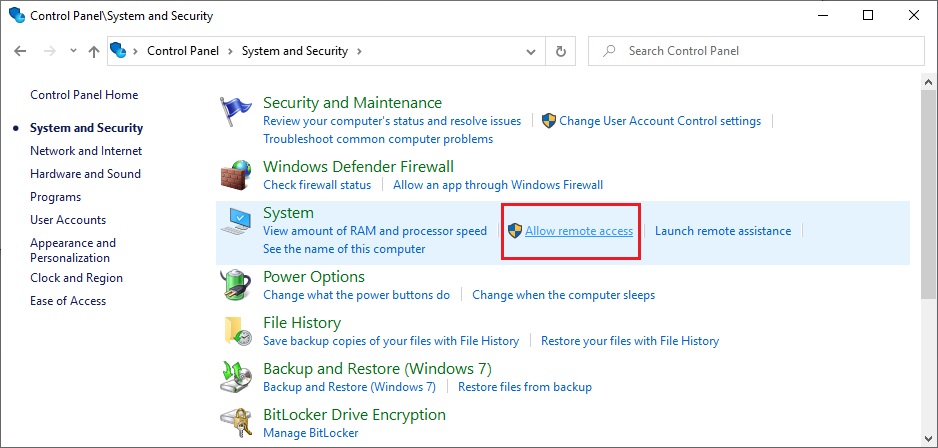
Next select ‘Allow remote access’.
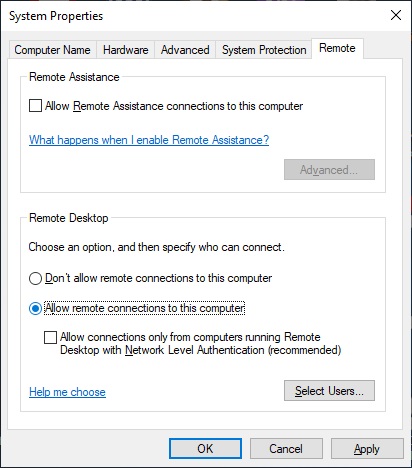
Select ‘Allow remote connections to this computer’ click ‘Apply’ and ‘OK’.
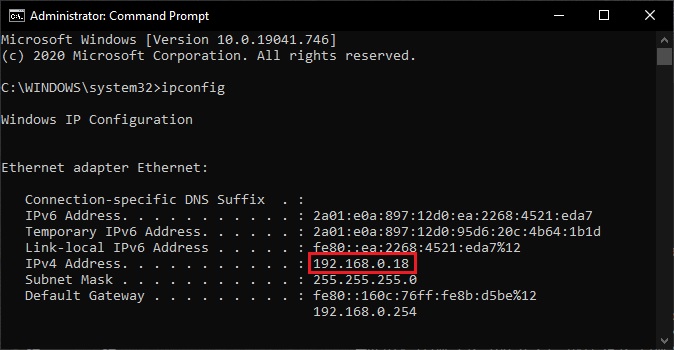
Open a command prompt type ‘ipconfig’ and get the IPv4 address.
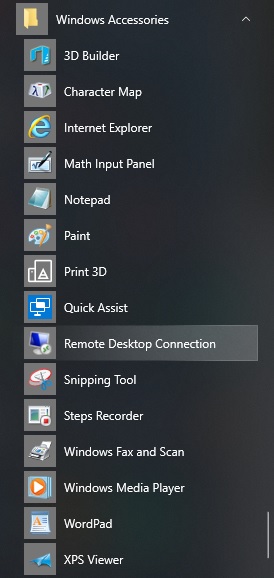
Now on your computer (Computer A), from the Windows menu, go to the ‘Windows Accessories’ folder and click on ‘Remote Desktop Connection.
Enter the IP address of the remote computer (Computer B) and click ‘Connect’.
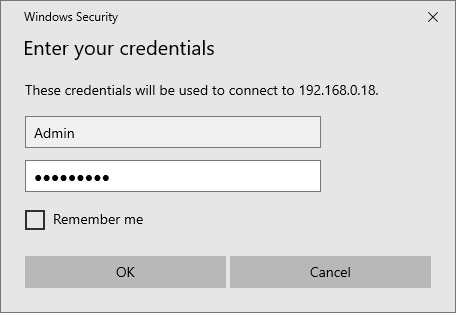
Enter the credentials of the remote computer (Computer B).
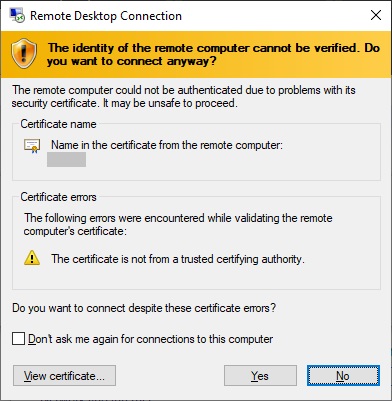
A warning message concerning the certificate appears, confirm the connection by clicking ‘Yes’.
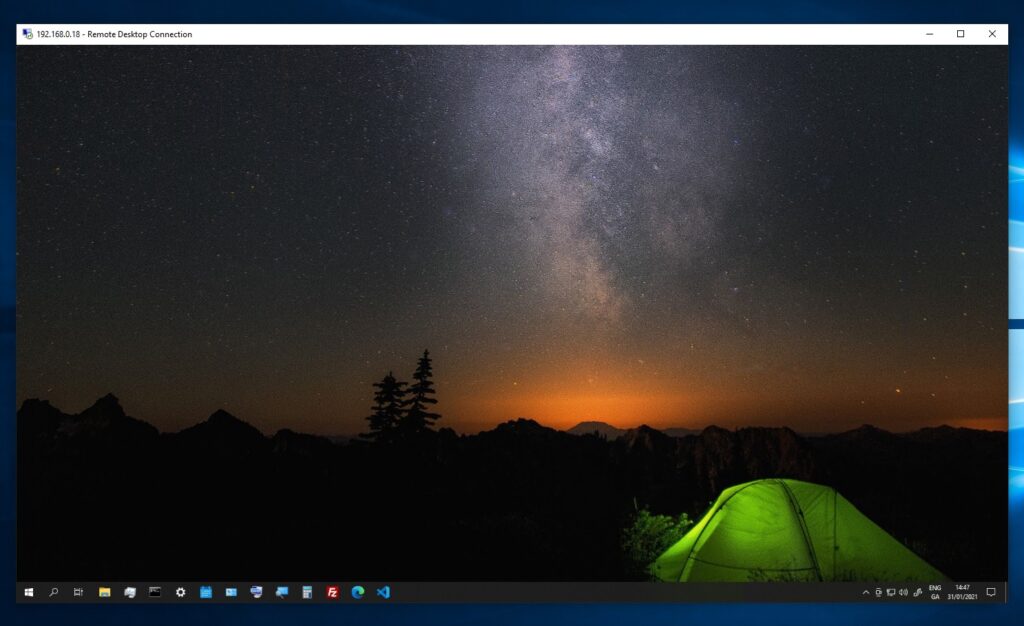
You can now access your remote computer from Computer A.